BPMN 2.0 Introduction
What is BPMN?
BPMN is a widely accepted and supported standard notation for representing processes OMG BPMN Standard.
Defining a process
Note
This introduction is written with the assumption you are using the Eclipse IDE to create and edit files. Very little of this is specific to Eclipse, however, you can use any other tool you prefer to create XML files containing BPMN 2.0.
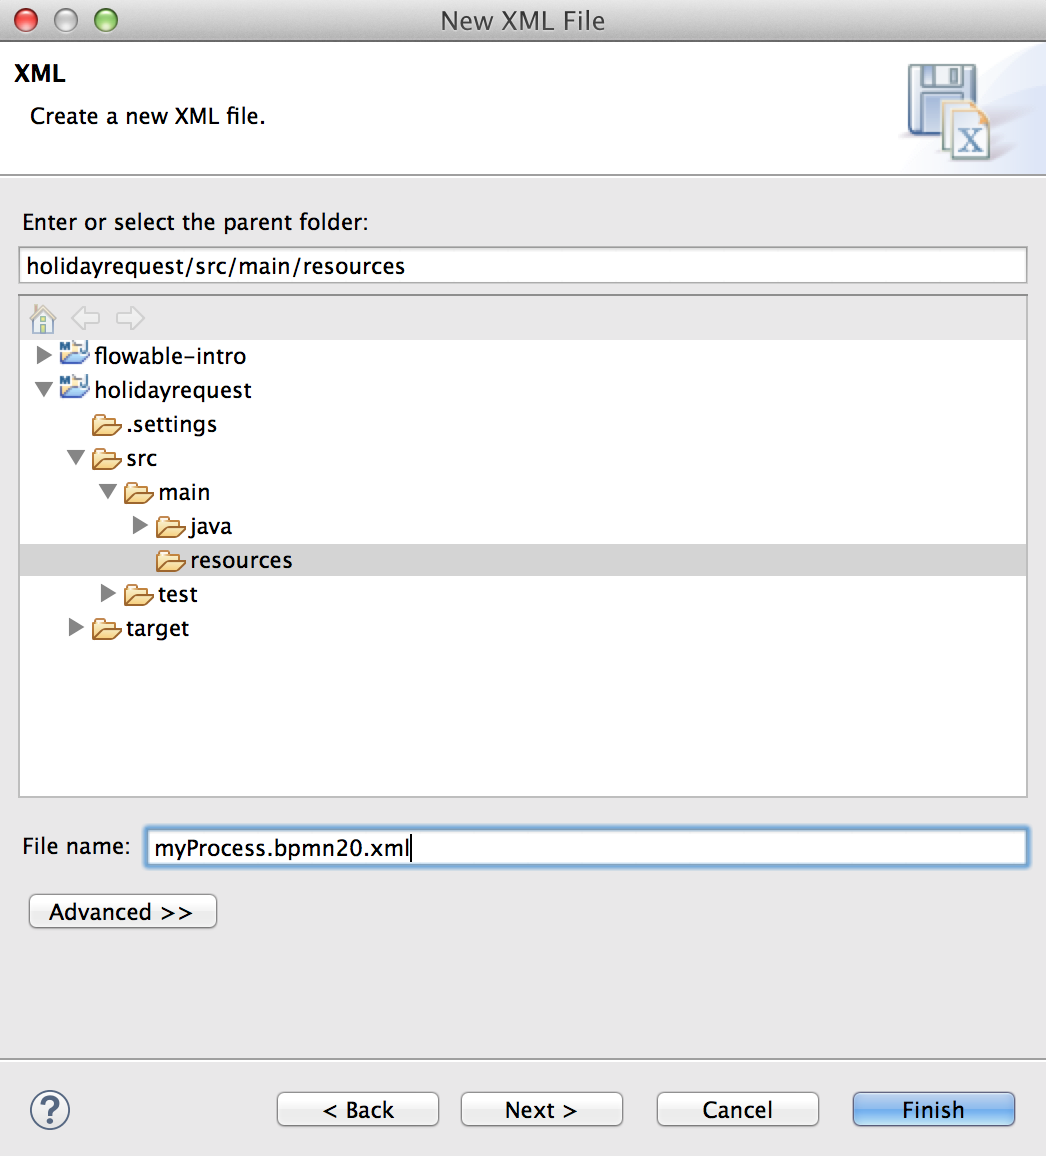
Create a new XML file (right-click on any project and select New→Other→XML-XML File) and give it a name. Make sure that the file ends with .bpmn20.xml or .bpmn, otherwise the engine won’t pick it up for deployment.

The root element of the BPMN 2.0 schema is the definitions element. Within this element, multiple process definitions can be given (although our advice is to have only one process definition in each file, as this simplifies maintenance later in the development process). An empty process definition looks like the one shown below. Note that the minimal definitions element only needs the xmlns and targetNamespace declaration. The targetNamespace can be anything and is useful for categorizing process definitions.
<definitions
  xmlns="http://www.omg.org/spec/BPMN/20100524/MODEL"
  xmlns:flowable="http://flowable.org/bpmn"
  targetNamespace="Examples">

  <process id="myProcess" name="My First Process">
    ..
  </process>

</definitions>
Optionally, you can also add the online schema location of the BPMN 2.0 XML schema, as an alternative to the XML catalog configuration in Eclipse.
xmlns:xsi="http://www.w3.org/2001/XMLSchema-instance"
xsi:schemaLocation="http://www.omg.org/spec/BPMN/20100524/MODEL
                    http://www.omg.org/spec/BPMN/2.0/20100501/BPMN20.xsd
The process element has two attributes:
- id: this attribute is required and maps to the key property of a Flowable ProcessDefinition object. This id can then be used to start a new process instance of the process definition, through the startProcessInstanceByKey method on the RuntimeService. This method will always take the latest deployed version of the process definition.
ProcessInstance processInstance = runtimeService.startProcessInstanceByKey("myProcess");
Important to note here is that this is not the same as calling the startProcessInstanceById method, which expects the String ID that was generated at deploy time by the Flowable engine (the ID can be retrieved by calling the processDefinition.getId() method). The format of the generated ID is 'key:version', and the length is constrained to 64 characters. If you get a FlowableException stating that the generated ID is too long, limit the text in the key field of the process.
name: this attribute is optional and maps to the name property of a ProcessDefinition. The engine itself doesn’t use this property, so it can be used for displaying a more human-friendly name in a user interface, for example.
Getting started: 10 minute tutorial
In this section we will cover a very simple business process that we will use to introduce some basic Flowable concepts and the Flowable API.
Prerequisites
This tutorial assumes that you have the Flowable demo setup running, and that you are using a standalone H2 server. Edit db.properties and set the jdbc.url=jdbc:h2:tcp://localhost/flowable, and then run the standalone server according to H2’s documentation.
Goal
The goal of this tutorial is to learn about Flowable and some basic BPMN 2.0 concepts. The end result will be a simple Java SE program that deploys a process definition, and then interacts with this process through the Flowable engine API. We’ll also touch on some of the tooling around Flowable. Of course, what you’ll learn in this tutorial can also be used when building your own web applications around your business processes.
Use case
The use case is straightforward: we have a company, let’s call it BPMCorp. In BPMCorp, a financial report needs to be written every month for the company shareholders. This is the responsibility of the accountancy department. When the report is finished, one of the members of the upper management needs to approve the document before it’s sent to all the shareholders.
Process diagram
The business process as described above can be defined graphically using the Flowable Designer. However, for this tutorial, we’ll type the XML ourselves, as we’ll learn the most this way at this stage. The graphical BPMN 2.0 notation of our process looks like this:

What we see is a none Start Event (circle on the left), followed by two User Tasks: 'Write monthly financial report' and 'Verify monthly financial report', ending in a none end event (circle with thick border on the right).
XML representation
The XML version of this business process (FinancialReportProcess.bpmn20.xml) looks like that shown below. It’s easy to recognize the main elements of our process (click on the link to go to the detailed section of that BPMN 2.0 construct):
The (none) start event tells us what the entry point is to the process.
The User Tasks declarations are the representation of the human tasks of our process. Note that the first task is assigned to the accountancy group, while the second task is assigned to the management group. See the section on user task assignment for more information on how users and groups can be assigned to user tasks.
The process ends when the none end event is reached.
The elements are connected to each other by sequence flows. These sequence flows have a source and target, defining the direction of the sequence flow.
<definitions id="definitions"
  targetNamespace="http://flowable.org/bpmn20"
  xmlns:flowable="http://flowable.org/bpmn"
  xmlns="http://www.omg.org/spec/BPMN/20100524/MODEL">

    <process id="financialReport" name="Monthly financial report reminder process">

      <startEvent id="theStart" />

      <sequenceFlow id="flow1" sourceRef="theStart" targetRef="writeReportTask" />

      <userTask id="writeReportTask" name="Write monthly financial report" >
        <documentation>
          Write monthly financial report for publication to shareholders.
        </documentation>
        <potentialOwner>
          <resourceAssignmentExpression>
            <formalExpression>accountancy</formalExpression>
          </resourceAssignmentExpression>
        </potentialOwner>
      </userTask>

      <sequenceFlow id="flow2" sourceRef="writeReportTask" targetRef="verifyReportTask" />

      <userTask id="verifyReportTask" name="Verify monthly financial report" >
        <documentation>
          Verify monthly financial report composed by the accountancy department.
          This financial report is going to be sent to all the company shareholders.
        </documentation>
        <potentialOwner>
          <resourceAssignmentExpression>
            <formalExpression>management</formalExpression>
          </resourceAssignmentExpression>
        </potentialOwner>
      </userTask>

      <sequenceFlow id="flow3" sourceRef="verifyReportTask" targetRef="theEnd" />

      <endEvent id="theEnd" />

    </process>

</definitions>
Starting a process instance
We have now created the process definition for our business process. From such a process definition, we can create process instances. In this scenario, one process instance corresponds to the creation and verification of a single financial report for a particular month. All the process instances for any month share the same process definition.
To be able to create process instances from a given process definition, we must first deploy the process definition. Deploying a process definition means two things:
The process definition will be stored in the persistent datastore that is configured for your Flowable engine. So by deploying our business process, we make sure that the engine will find the process definition after an engine restart.
The BPMN 2.0 process XML will be parsed to an in-memory object model that can be manipulated through the Flowable API.
More information on deployment can be found in the dedicated section on deployment.
As described in that section, deployment can happen in several ways. One way is through the API as follows. Note that all interaction with the Flowable engine happens through its services.
Deployment deployment = repositoryService.createDeployment()
  .addClasspathResource("FinancialReportProcess.bpmn20.xml")
  .deploy();
Now we can start a new process instance using the id we defined in the process definition (see process element in the XML). Note that this id in Flowable terminology is called the key.
ProcessInstance processInstance = runtimeService.startProcessInstanceByKey("financialReport");
This will create a process instance that will first go through the start event. After the start event, it follows all the outgoing sequence flows (only one in this case) and the first task ('write monthly financial report') is reached. The Flowable engine will now store a task in the persistent database. At this point, the user or group assignments attached to the task are resolved and also stored in the database. It’s important to note that the Flowable engine will continue process execution steps until it reaches a wait state, such as a user task. At such a wait state, the current state of the process instance is stored in the database. It remains in that state until a user decides to complete their task. At that point, the engine will continue until it reaches a new wait state or the end of the process. If the engine reboots or crashes in the meantime, the state of the process is safe and secure in the database.
After the task is created, the startProcessInstanceByKey method will return because the user task activity is a wait state. In our scenario, the task is assigned to a group, which means that every member of the group is a candidate to perform the task.
We can now throw this all together and create a simple Java program. Create a new Eclipse project and add the Flowable JARs and dependencies to its classpath (these can be found in the libs folder of the Flowable distribution). Before we can call the Flowable services, we must first construct a ProcessEngine that gives us access to the services. Here we use the 'standalone' configuration, which constructs a ProcessEngine that uses the database also used in the demo setup.
You can download the process definition XML here. This file contains the XML shown above, but also contains the necessary BPMN diagram interchange information to visualize the process in the Flowable tools.
public static void main(String[] args) {

  // Create Flowable process engine
  ProcessEngine processEngine = ProcessEngineConfiguration
    .createStandaloneProcessEngineConfiguration()
    .buildProcessEngine();

  // Get Flowable services
  RepositoryService repositoryService = processEngine.getRepositoryService();
  RuntimeService runtimeService = processEngine.getRuntimeService();

  // Deploy the process definition
  repositoryService.createDeployment()
    .addClasspathResource("FinancialReportProcess.bpmn20.xml")
    .deploy();

  // Start a process instance
  runtimeService.startProcessInstanceByKey("financialReport");
}
Task lists
We can now retrieve this task through the TaskService by adding the following logic:
List<Task> tasks = taskService.createTaskQuery().taskCandidateUser("kermit").list();
Note that the user we pass to this operation needs to be a member of the accountancy group, as that was declared in the process definition:
<potentialOwner>
  <resourceAssignmentExpression>
    <formalExpression>accountancy</formalExpression>
  </resourceAssignmentExpression>
</potentialOwner>
We could also use the task query API to get the same results using the name of the group. We can now add the following logic to our code:
TaskService taskService = processEngine.getTaskService();
List<Task> tasks = taskService.createTaskQuery().taskCandidateGroup("accountancy").list();
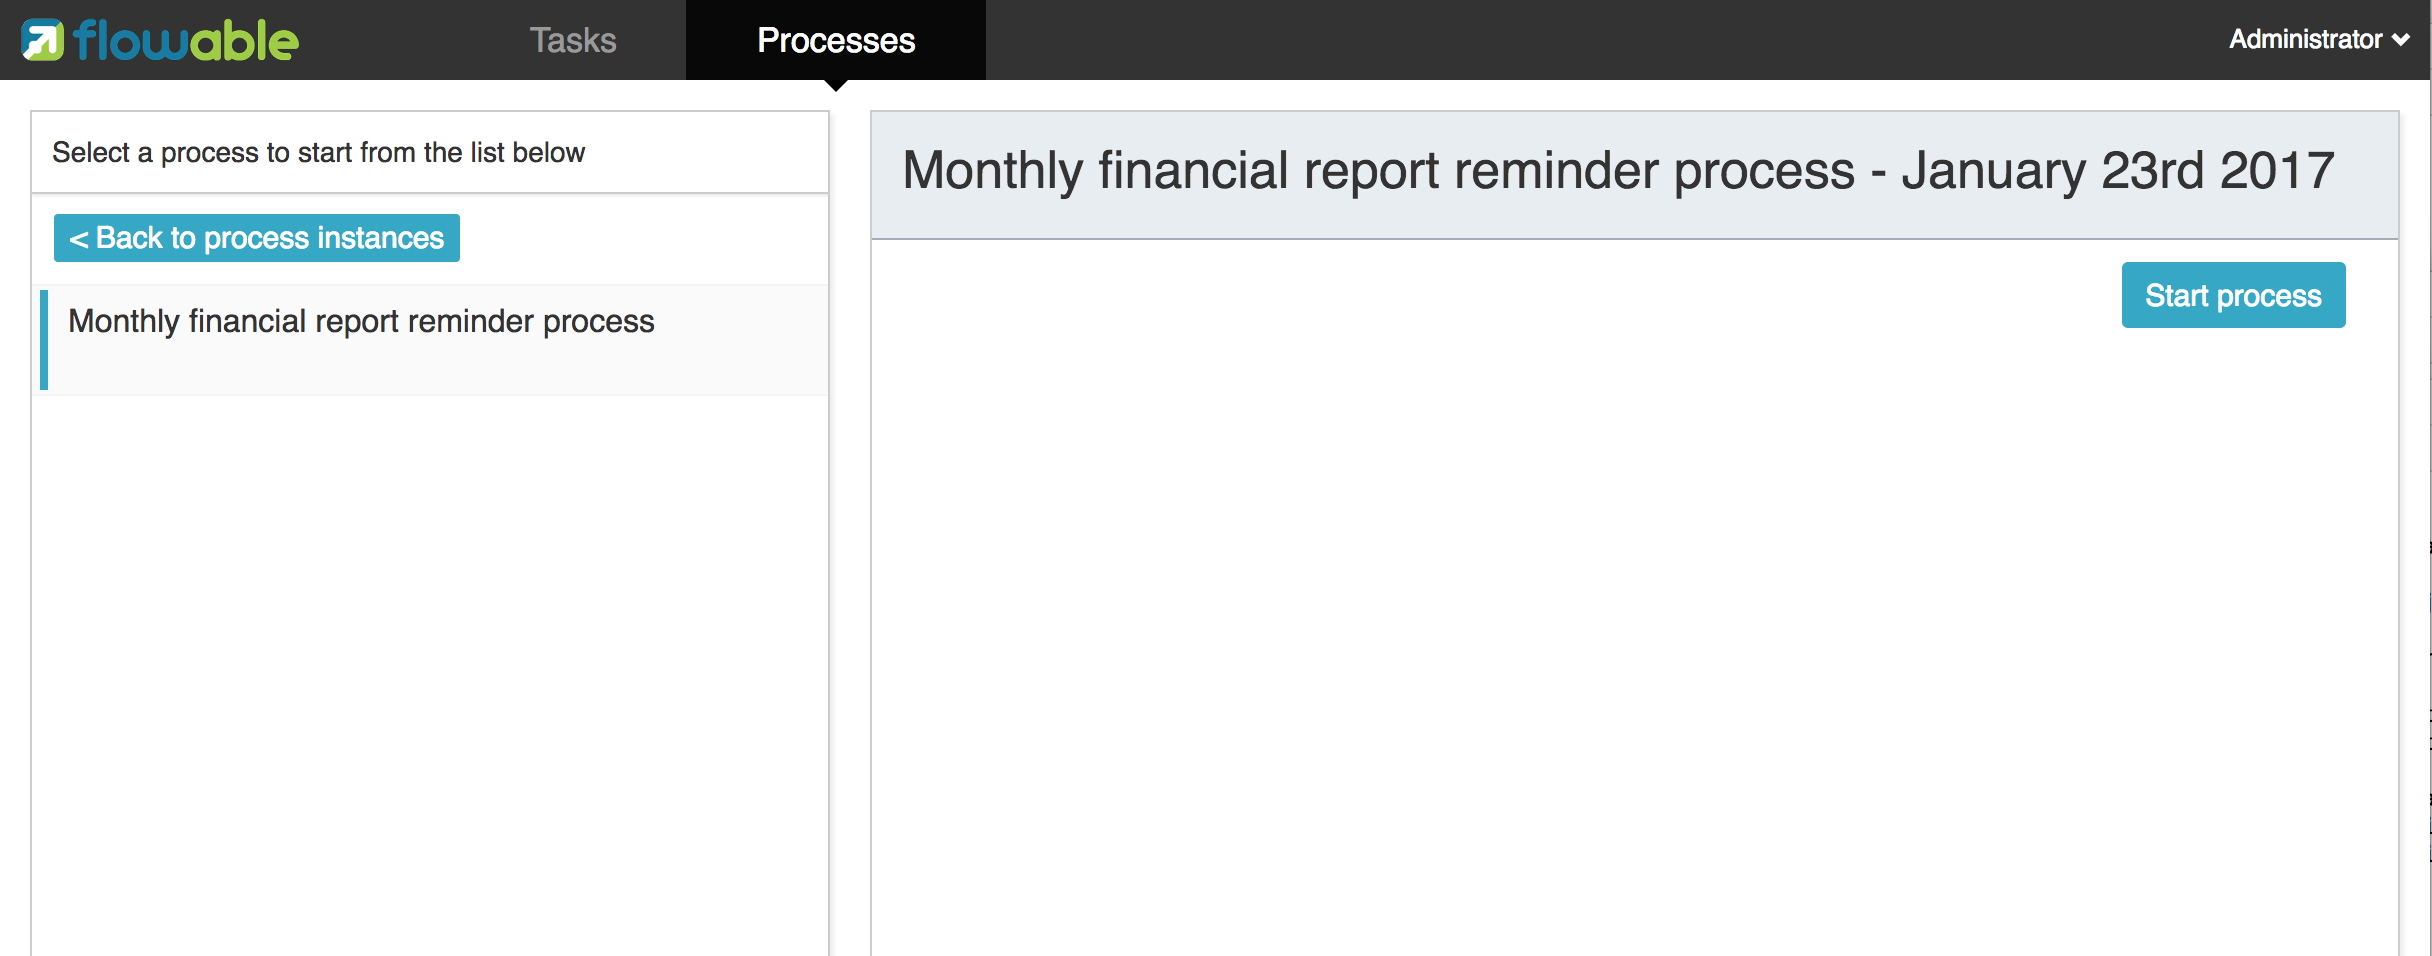
As we’ve configured our ProcessEngine to use the same database that the demo setup is using, we can now log into the Flowable IDM. Login as admin/test and create 2 new users kermit and fozzie, and give both of them the Access the workflow application privilege. Then create 2 new organization groups named accountancy and management, and add fozzie to the new accountancy group and add kermit to the management group. Now login with fozzie to the Flowable task application, and we will find that we can start our business process by selecting the Task App, then its Processes page and selecting the 'Monthly financial report' process.

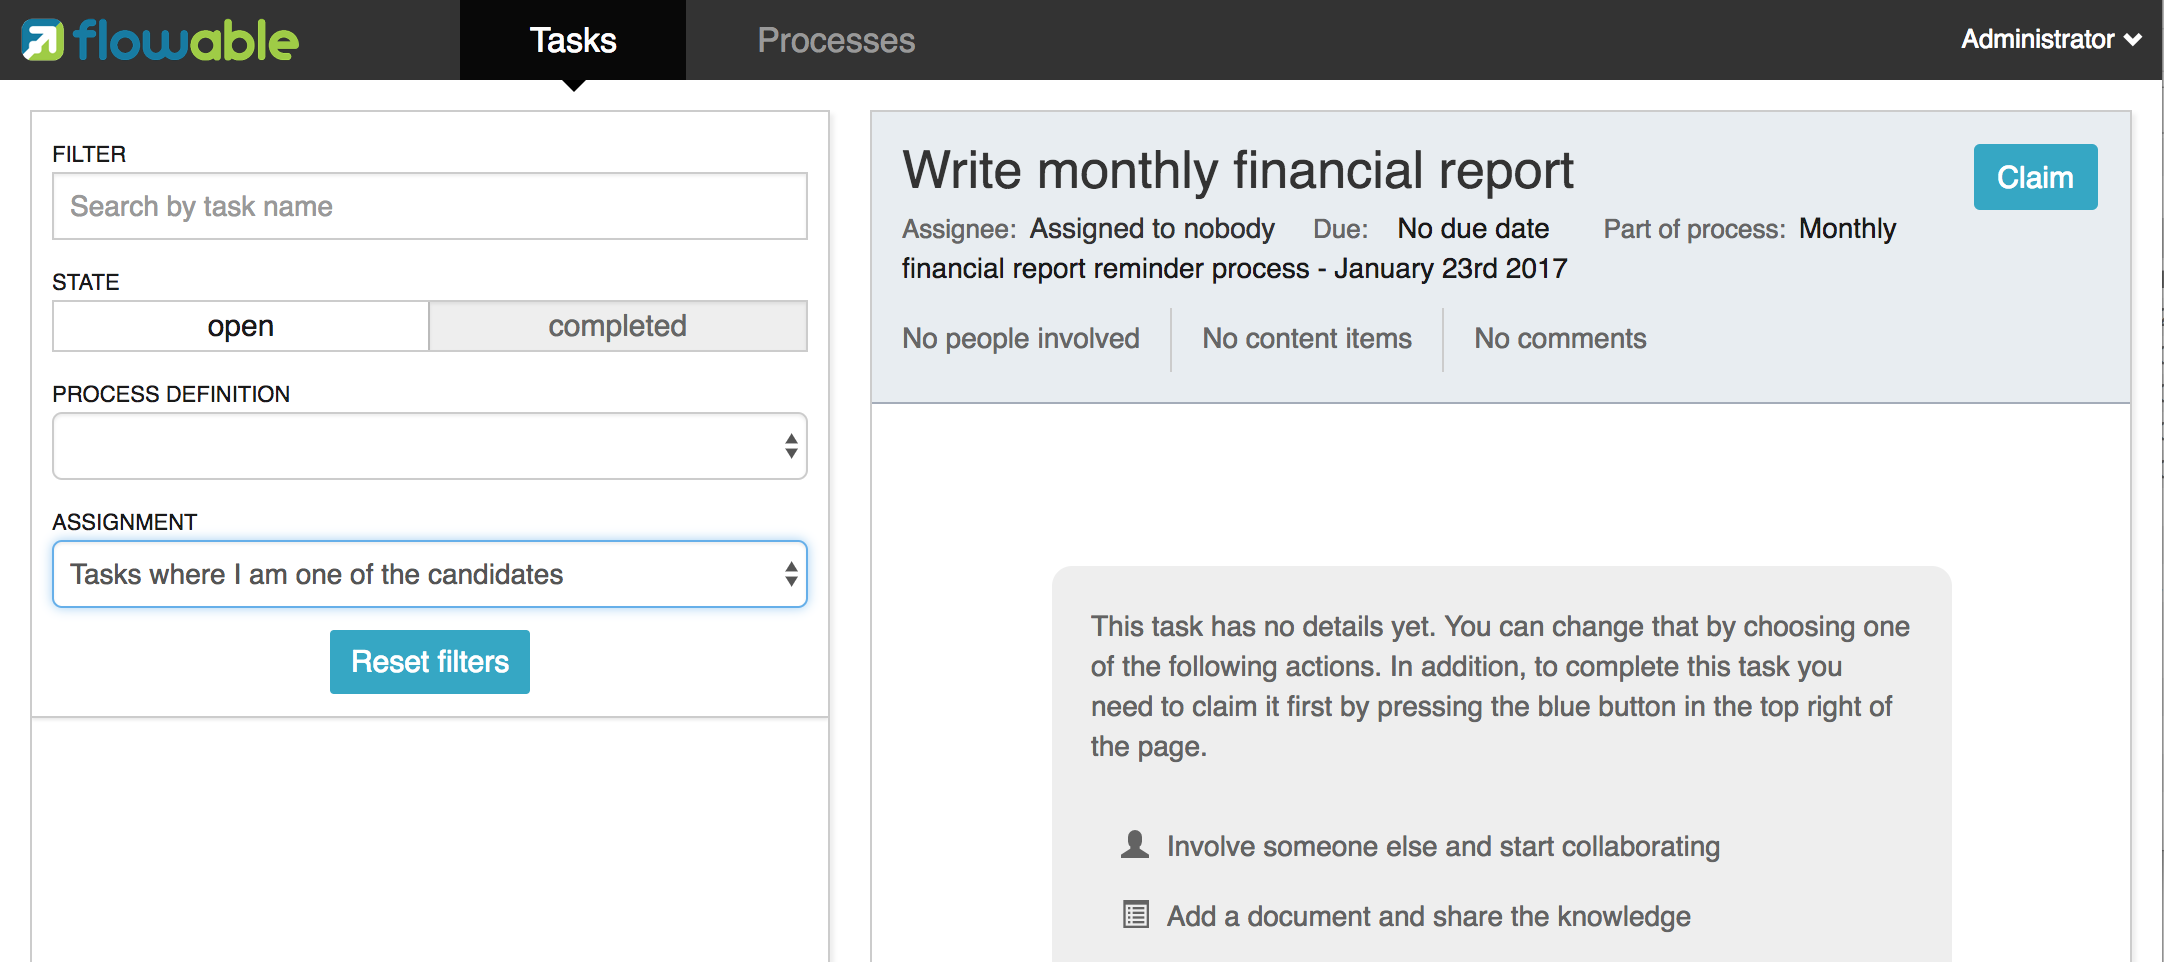
As explained, the process will execute until reaching the first user task. As we’re logged in as fozzie, we can see that there is a new candidate task available for him after we’ve started a process instance. Select the Tasks page to view this new task. Note that even if the process was started by someone else, the task would still be visible as a candidate task to everyone in the accountancy group.

Claiming the task
An accountant now needs to claim the task. By claiming the task, that specific user will become the assignee of the task, and the task will disappear from every task list of the other members of the accountancy group. Claiming a task is programmatically done as follows:
taskService.claim(task.getId(), "fozzie");
The task is now in the personal task list of the user that claimed the task.
List<Task> tasks = taskService.createTaskQuery().taskAssignee("fozzie").list();
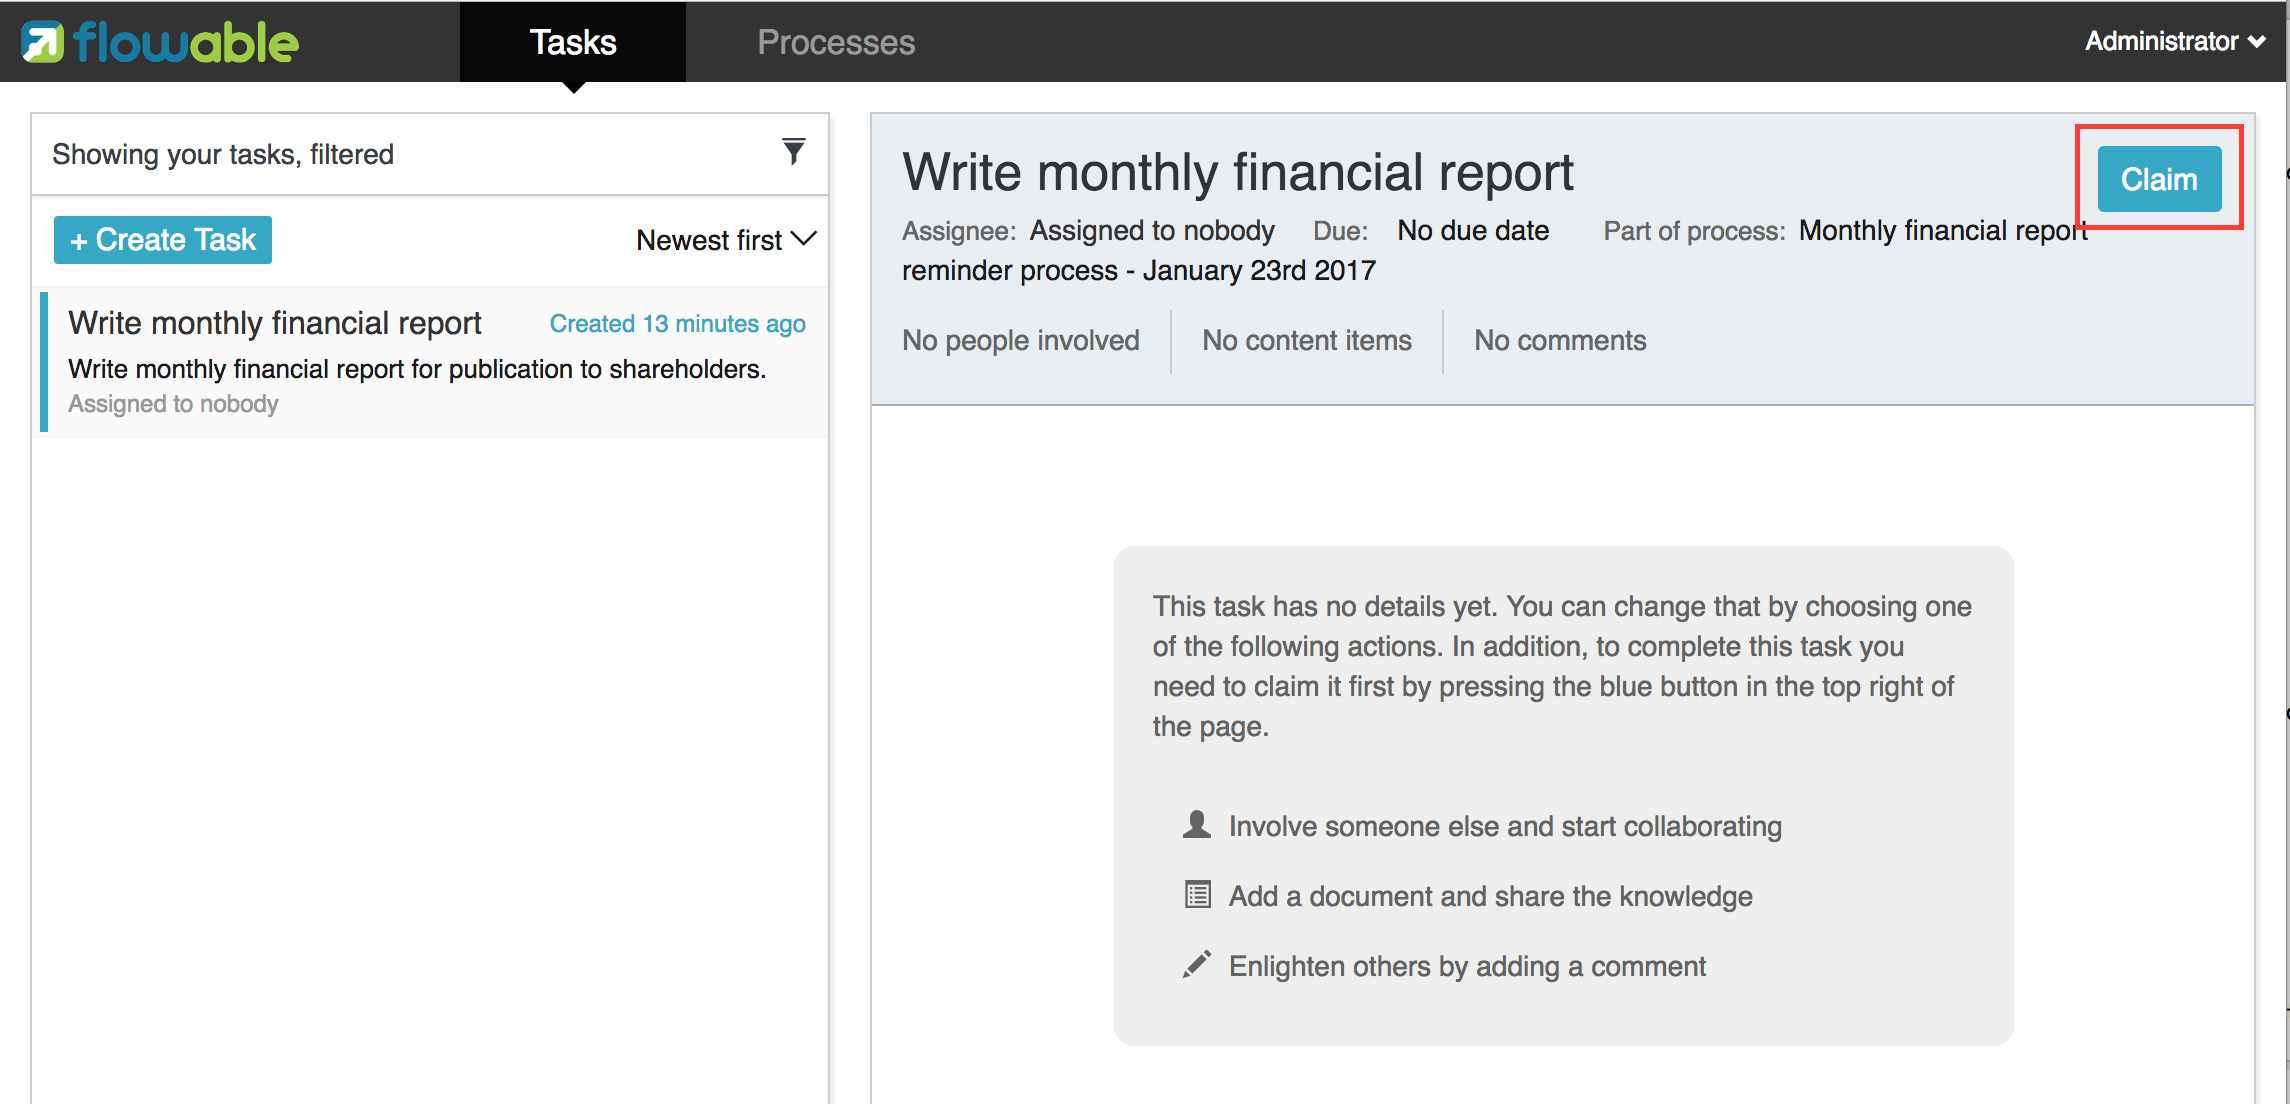
In the Flowable Task app, clicking the claim button will call the same operation. The task will now move to the personal task list of the logged on user. You’ll also see that the assignee of the task changed to the current logged in user.

Completing the task
The accountant can now start working on the financial report. Once the report is finished, he can complete the task, which means that all work for that task is done.
taskService.complete(task.getId());
For the Flowable engine, this is an external signal that the process instance execution can now continue. The task itself is removed from the runtime data. The single outgoing transition from the task is followed, moving the execution to the second task ('verification of the report'). The same mechanism as described for the first task will now be used to assign the second task, with the small difference that the task will be assigned to the management group.
In the demo setup, completing the task is done by clicking the complete button in the task list. Since Fozzie isn’t an accountant, we need to log out of the Flowable Task app and login in as kermit (who is a manager). The second task is now visible in the unassigned task lists.
Ending the process
The verification task can be retrieved and claimed in exactly the same way as before. Completing this second task will move process execution to the end event, which finishes the process instance. The process instance and all related runtime execution data are removed from the datastore.
Programmatically, you can also verify that the process has ended, using the historyService
HistoryService historyService = processEngine.getHistoryService();
HistoricProcessInstance historicProcessInstance =
historyService.createHistoricProcessInstanceQuery().processInstanceId(procId).singleResult();
System.out.println("Process instance end time: " + historicProcessInstance.getEndTime());
Code overview
Combine all the snippets from previous sections, and you should have something like the following. The code takes into account that you probably will have started a few process instances through the Flowable app UI. It retrieves a list of tasks instead of one task, so it always works:
public class TenMinuteTutorial {

  public static void main(String[] args) {

    // Create Flowable process engine
    ProcessEngine processEngine = ProcessEngineConfiguration
      .createStandaloneProcessEngineConfiguration()
      .buildProcessEngine();

    // Get Flowable services
    RepositoryService repositoryService = processEngine.getRepositoryService();
    RuntimeService runtimeService = processEngine.getRuntimeService();

    // Deploy the process definition
    repositoryService.createDeployment()
      .addClasspathResource("FinancialReportProcess.bpmn20.xml")
      .deploy();

    // Start a process instance
    String procId = runtimeService.startProcessInstanceByKey("financialReport").getId();

    // Get the first task
    TaskService taskService = processEngine.getTaskService();
    List<Task> tasks = taskService.createTaskQuery().taskCandidateGroup("accountancy").list();
    for (Task task : tasks) {
      System.out.println("Following task is available for accountancy group: " + task.getName());

      // claim it
      taskService.claim(task.getId(), "fozzie");
    }

    // Verify Fozzie can now retrieve the task
    tasks = taskService.createTaskQuery().taskAssignee("fozzie").list();
    for (Task task : tasks) {
      System.out.println("Task for fozzie: " + task.getName());

      // Complete the task
      taskService.complete(task.getId());
    }

    System.out.println("Number of tasks for fozzie: "
            + taskService.createTaskQuery().taskAssignee("fozzie").count());

    // Retrieve and claim the second task
    tasks = taskService.createTaskQuery().taskCandidateGroup("management").list();
    for (Task task : tasks) {
      System.out.println("Following task is available for management group: " + task.getName());
      taskService.claim(task.getId(), "kermit");
    }

    // Completing the second task ends the process
    for (Task task : tasks) {
      taskService.complete(task.getId());
    }

    // verify that the process is actually finished
    HistoryService historyService = processEngine.getHistoryService();
    HistoricProcessInstance historicProcessInstance =
      historyService.createHistoricProcessInstanceQuery().processInstanceId(procId).singleResult();
    System.out.println("Process instance end time: " + historicProcessInstance.getEndTime());
  }

}
Future enhancements
It’s easy to see that this business process is too simple to be usable in reality. However, as you are going through the BPMN 2.0 constructs available in Flowable, you will be able to enhance the business process by:
defining gateways so a manager can decide to reject the financial report and recreate the task for the accountant, following a different path than when accepting the report.
declaring and using variables to store or reference the report so that it can be visualized in the form.
defining a service task at the end of the process to send the report to every shareholder.
etc.